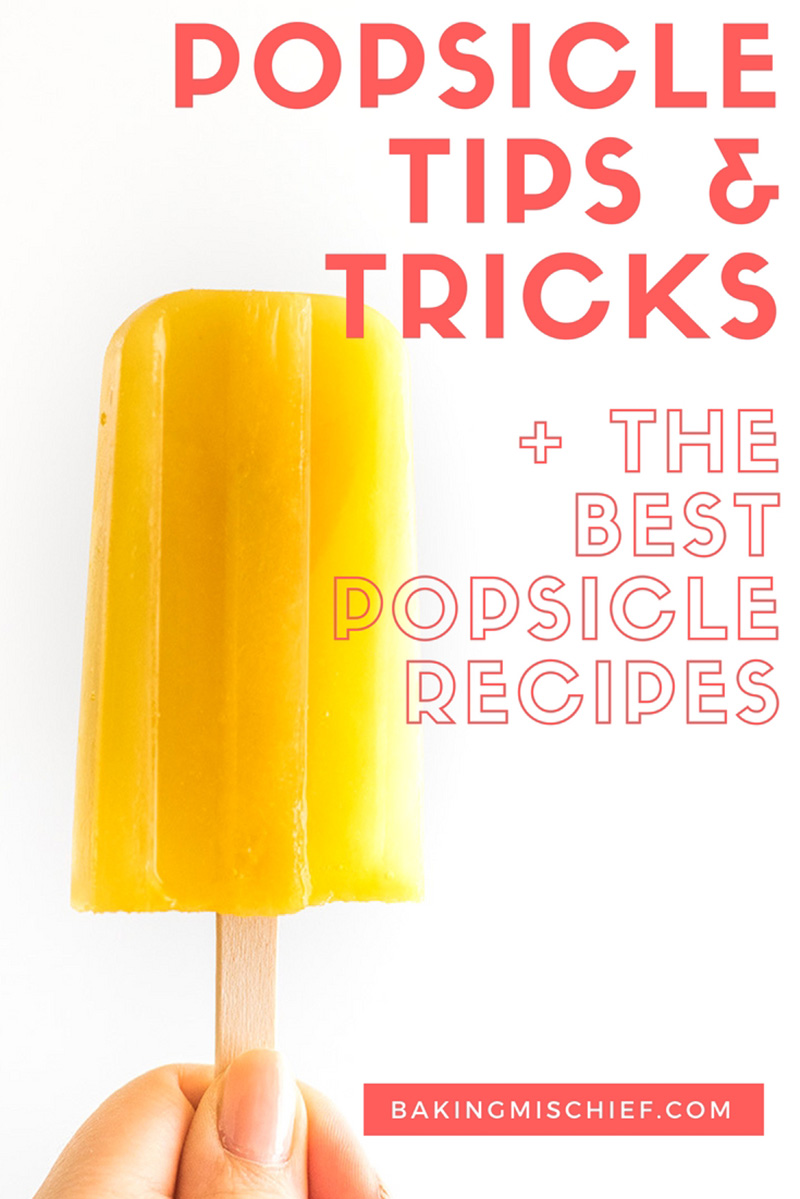
Perfect Popsicles: Essential Tips for Sticks, Storage & More
Summer, or any warm day for that matter, just isn't complete without the icy, refreshing delight of a popsicle. While store-bought options are always tempting, there’s an undeniable satisfaction in crafting your own homemade frozen treats. Not only can you customize flavors to your heart's content, but you also save a significant amount compared to the gourmet popsicle shops "popping" up everywhere. Whether you're a seasoned popsicle enthusiast or just dipping your toe into the world of DIY frozen delights, mastering a few core
popsicle tips and tricks can make all the difference. From ensuring your sticks stand straight to preserving that fresh taste, we've got you covered. Let's dive into the essential advice that will elevate your popsicle game from good to glorious, alongside inspiration for
the best popsicle recipes you can whip up at home.
Elevate Your Popsicle Game: Investing in the Right Tools
Think of your popsicle mold as the canvas for your frozen masterpiece. While that trusty, ancient mold from your college days might still technically *work*, upgrading to a quality popsicle maker can dramatically enhance both your experience and the end result. Modern molds are designed for ease of use, durability, and a more professional finish.
When choosing a mold, consider a few factors:
- Material: Silicone molds are incredibly flexible, making demolding a breeze. Stainless steel options are durable, eco-friendly, and often conduct cold efficiently for faster freezing. BPA-free plastic molds are a common and affordable choice.
- Design: Look for molds with integrated stick holders or designs that naturally support sticks. Some come with reusable plastic sticks, which are convenient and reduce waste.
- Size and Capacity: Do you want mini pops for quick snacks or larger ones for a more substantial treat? Consider how many popsicles you want to make at once.
A good quality mold will not only make your popsicles look more appealing but also prevent common frustrations like sticking or uneven freezing. Beyond the mold, a few other tools can prove invaluable: a sturdy blender for smooth purees, a fine-mesh sieve for removing pulp if you prefer a silky texture, and a small funnel for mess-free pouring into molds. Investing a little upfront in the right equipment will make your popsicle-making journey much more enjoyable and successful.
Mastering the Stick: Say Goodbye to Tilted Sticks
One of the most common complaints among homemade popsicle makers is the dreaded tilted stick. You fill your molds, insert the sticks, only to find them leaning, freezing at an awkward angle, and making it nearly impossible to remove the lid later. The good news? This is an incredibly easy fix, and there are several ingenious methods to ensure your sticks stand perfectly straight.
Here are our top
popsicle tips and tricks for stick stability:
- The Partial Freeze Method: This technique relies on the changing consistency of your popsicle mixture. Pour your mixture into the molds, but don't insert the sticks yet. Place the molds in the freezer for about 40 minutes to an hour, or until the mixture begins to firm up and reach a slushy consistency. At this point, carefully insert your popsicle sticks. They'll hold their position perfectly. Just be sure to set a timer, as forgetting this crucial step means you'll end up with stick-less frozen blocks!
- The Alligator Clip Trick: For molds that have individual lids or a flat top, mini alligator clips can be your best friend. Simply attach one clip to each side of the popsicle stick, allowing them to rest on the edge of the mold. This creates a stable brace, keeping your sticks perfectly upright as the popsicles freeze solid. This method is particularly effective for thinner sticks and flexible molds.
- The Plastic Wrap & Paring Knife Technique: This is a favorite method for many, offering multiple benefits. First, stretch a sheet of plastic wrap tightly over the entire top of your popsicle mold. Ensure it's taut. Next, carefully place the mold's lid over the plastic wrap. Using a small paring knife, poke a tiny opening through the plastic wrap, aligning it with the designated slot for each popsicle stick in the lid. Insert the sticks through these openings. The combination of the taut plastic wrap and the lid will hold the sticks straight and allow you to control how far down they go into the popsicle. An added bonus? This layer of plastic wrap acts as a barrier, preventing the popsicle from sticking to the lid when fully frozen, making removal much smoother.
Experiment with these methods to find which one works best for your specific mold and preferences. Proper stick placement is a small detail that makes a huge difference in the overall look and usability of your homemade treats.
The Art of Storage: Keeping Your Popsicles Fresh and Flavorful
You've put time and effort into creating delicious homemade popsicles, so naturally, you want them to stay fresh and taste great for as long as possible. While leaving them in the mold and taking them out one by one seems convenient, it's not ideal for long-term freshness. Popsicles left exposed in the freezer can quickly absorb unwanted freezer odors or develop unsightly freezer burn. Proper storage is key to preserving their flavor and texture.
Here are the best ways to store your homemade popsicles:
- Short-Term Storage (A Few Days): For popsicles you plan to enjoy within a day or two, an airtight plastic freezer bag or container is your easiest option.
- Once your popsicles are fully frozen and you've removed them from their molds, they might be slightly sticky on the outside. To prevent them from fusing into a giant popsicle block, lay them out on a baking sheet or a large plate lined with parchment paper or wax paper.
- Place this sheet back into the freezer for an additional 15-20 minutes, allowing the outer layer to re-freeze and harden completely.
- Once fully re-frozen and non-sticky, transfer them to your chosen airtight container or freezer bag. This method works well for quick consumption, but remember, even in an airtight container, they won't stay perfectly fresh for an extended period.
- Long-Term Storage (Weeks to Months): If you're making a big batch or want to savor your creations over a longer period, individual wrapping is the superior choice.
- After the initial re-freezing step (as described above), individually wrap each popsicle. Plastic wrap is excellent for this as it creates a tight seal. Alternatively, you can use parchment paper or wax paper, which are also effective at preventing freezer burn and sticking.
- Once wrapped, place the individually packaged popsicles into a larger airtight container or a heavy-duty freezer bag. This double layer of protection is crucial for warding off freezer burn and preventing your popsicles from absorbing any lingering odors from other items in your freezer.
Always remember to label and date your stored popsicles. While they can technically last for several weeks to a few months when properly stored, consuming them within 2-4 weeks generally yields the best flavor and texture.
Beyond the Basics: Unleashing Your Inner Popsicle Artisan
With your fundamental
popsicle tips and tricks mastered, it's time to unleash your creativity and dive into the exciting world of homemade recipes. The gourmet popsicle trend has shown us that the possibilities are truly endless, moving far beyond basic fruit juice. Why pay six dollars for a single popsicle when you can craft your own gourmet delights at a fraction of the cost?
The internet is brimming with inspiration, offering endless ideas for
the best popsicle recipes. Start with simple concoctions and gradually experiment with more complex flavor profiles.
- Fruity Freshness: These are often the easiest and most refreshing. Blend fresh fruits like strawberries, mangoes, raspberries, or pineapple with a touch of sweetener, a squeeze of lemon or lime, and perhaps a splash of water or coconut water. Layer different fruit purees for vibrant "Fresh Fruit Rainbow Popsicles," or combine "Strawberry Sorbet Popsicles" with a hint of lemonade. For more vibrant and easy fruit-based ideas, explore Cool Down This Summer: 25 Easy Homemade Popsicle Recipes.
- Creamy Indulgences: Elevate your pops with dairy or plant-based creams. Think "Vanilla Bean and Mixed Berry Frozen Yogurt Pops" for a tangy, creamy treat, or rich "Homemade Pudding Pops" for a nostalgic dessert. Coconut milk is a fantastic base for dairy-free options like "Raspberry and Coconut Milk Popsicles," offering a wonderfully smooth texture.
- Unique & Playful Combinations: Don't be afraid to get creative. Add chopped cookies for "Cookies and Cream Popsicles," mix in chocolate chips, or even incorporate herbs like mint or basil for an unexpected twist. Some even make "Frozen Grapes on a Stick" for a super simple, healthy snack. And let's not forget our furry friends – "Frozen Pupsicles" made with pet-safe ingredients like pumpkin puree and peanut butter are a delightful treat for your four-legged companions! For more advanced techniques and imaginative flavors, dive into Gourmet Popsicles at Home: Pro Tips & Best DIY Recipes.
The key is to experiment with different ingredients, textures, and layers. Think about balance – sweet, tart, creamy – and don't hesitate to adjust recipes to your personal taste. Homemade popsicles are a fantastic way to enjoy seasonal produce, control sugar content, and create truly unique desserts that cater to everyone's preferences.
Conclusion
From selecting the perfect mold to mastering the art of stick placement and ensuring optimal storage, these essential
popsicle tips and tricks are your roadmap to frozen dessert success. No longer will you battle tilted sticks or suffer from freezer-burned disappointments. With these techniques under your belt and a world of delicious
the best popsicle recipes at your fingertips, you're ready to create a summer (or year-round) full of delightful, refreshing, and perfectly crafted homemade popsicles. So, gather your ingredients, choose your favorite mold, and start chilling – your taste buds will thank you!